# Acurite Weather Station Installation Guide
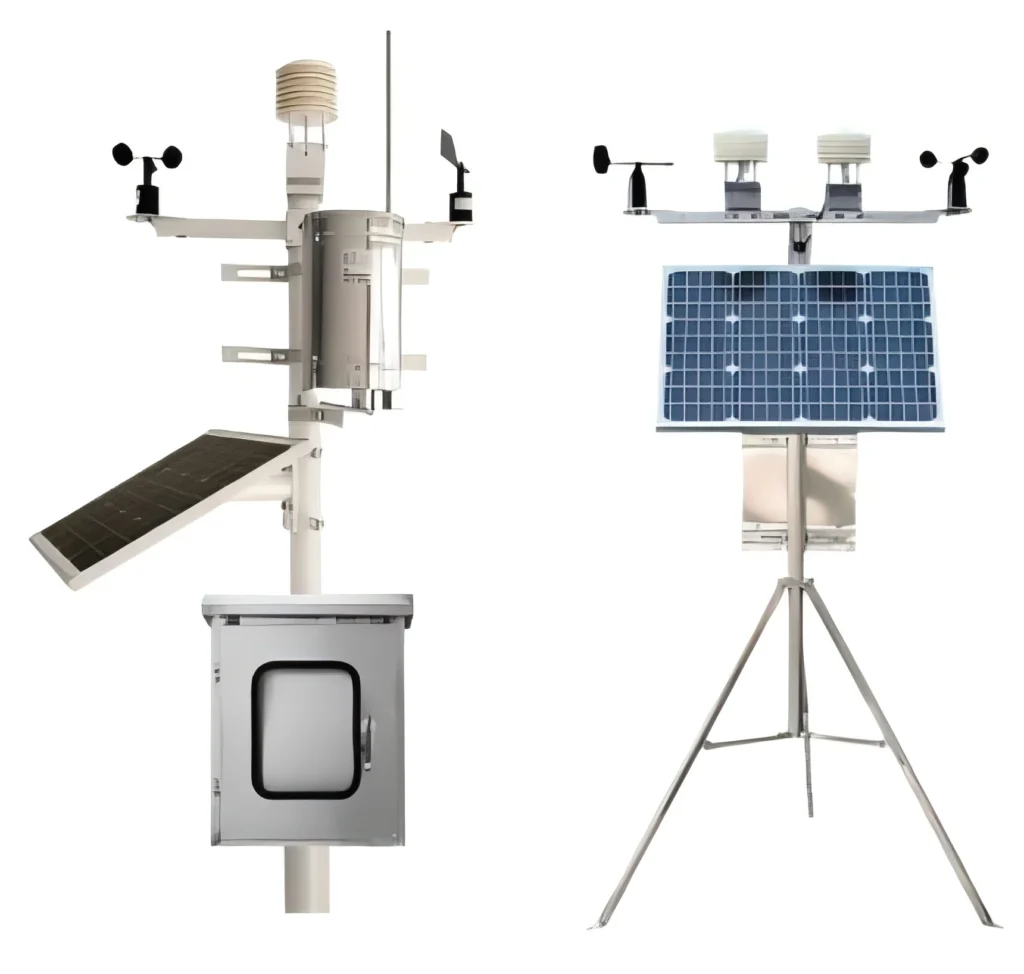
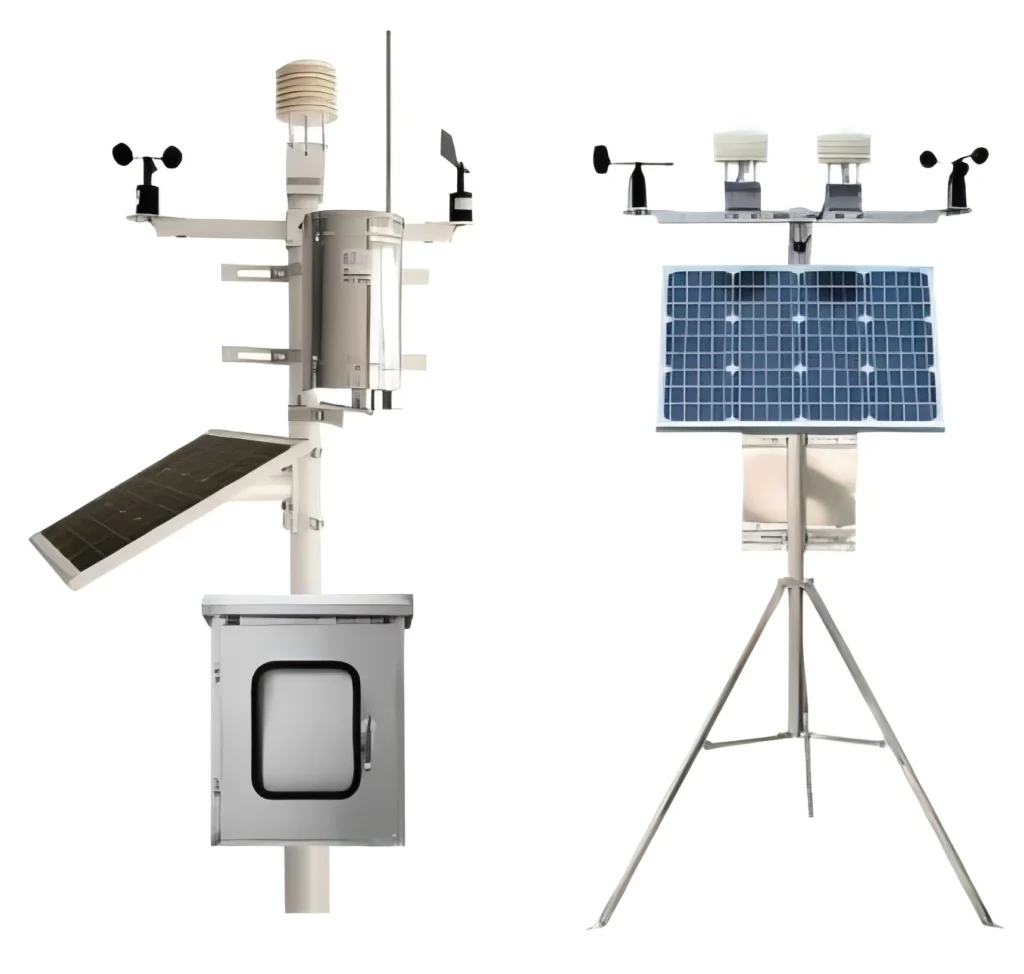
Installing an Acurite weather station can be a rewarding experience, providing you with accurate and real-time weather data right at your fingertips. Whether you’re a weather enthusiast or simply want to monitor your local conditions, this guide will walk you through the installation process step by step.
## Step 1: Unbox and Inspect Your Acurite Weather Station
Before you begin, carefully unbox your Acurite weather station and inspect all the components. Ensure that you have the following items:
– Display console
– Outdoor sensor(s)
– Mounting hardware
– User manual
– Batteries (if not pre-installed)
If any items are missing or damaged, contact Acurite customer support for assistance.
## Step 2: Choose the Right Location for Your Outdoor Sensor
The accuracy of your weather station depends heavily on the placement of the outdoor sensor. Follow these guidelines:
– Mount the sensor at least 5 feet above the ground
– Avoid placing it near heat sources, such as air conditioning units or chimneys
– Ensure it’s not obstructed by trees, buildings, or other structures
– Place it in an open area to allow for proper air circulation
## Step 3: Install the Outdoor Sensor
Once you’ve chosen the perfect location, it’s time to install the outdoor sensor:
1. Insert the required batteries into the sensor
2. Secure the sensor to a mounting bracket or pole using the provided hardware
3. Ensure the sensor is level and firmly attached
4. Position the sensor so that the rain collector is unobstructed
## Step 4: Set Up the Display Console
With the outdoor sensor in place, it’s time to set up your display console:
1. Insert the required batteries or plug in the power adapter
2. Place the console in a convenient location indoors
3. Ensure the console is within the recommended range of the outdoor sensor (typically 330 feet in open air)
4. Avoid placing the console near electronic devices that may cause interference
## Step 5: Synchronize the Sensor and Console
Once both components are powered on, they should automatically synchronize. If they don’t:
1. Press the “Sync” button on the console
2. Wait for the connection to establish
3. Verify that the console is receiving data from the sensor
## Step 6: Configure Your Weather Station Settings
Take some time to customize your weather station settings:
– Set the correct time and date
– Choose your preferred units of measurement (Fahrenheit/Celsius, inches/millimeters, etc.)
– Configure any alerts or notifications you wish to receive
– Set up data logging if your model supports it
## Step 7: Test and Verify Your Installation
After completing the installation, it’s important to verify that everything is working correctly:
– Check that all sensors are reporting accurate data
– Ensure the rain collector is level and functioning properly
– Verify that the wind vane and anemometer are moving freely
– Confirm that the console is receiving and displaying all data correctly
## Maintenance Tips for Your Acurite Weather Station
To keep your weather station functioning optimally:
– Regularly clean the rain collector and sensors
– Check and replace batteries as needed
– Inspect mounting hardware periodically
– Keep the display console free from dust and debris
– Update firmware if available
By following this Acurite weather station installation guide, you’ll be well on your way to enjoying accurate, real-time weather data from your own backyard. Remember that proper installation and maintenance are key to ensuring the longevity and accuracy of your weather station. Happy weather watching!
Keyword: acurite weather station installation
